
24 August 2023 · Sharon Winson
Concrete Shed Base Laying – Tips and Tricks
Everything our base teams have learned about laying a concrete shed base, from clearing the ground to the final cure.
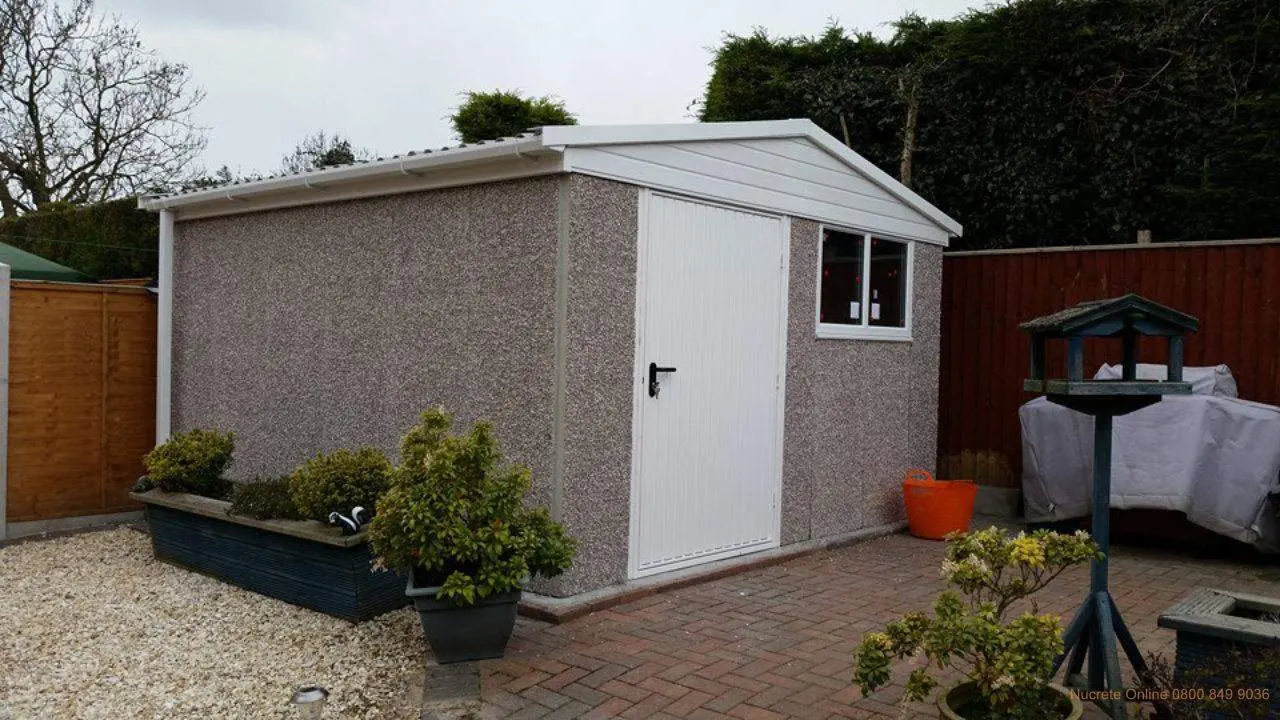
Laying a good concrete shed base comes down to four things: prepare the ground properly, use the right concrete mix, set up level shuttering before you pour, and let the slab cure slowly. Get those right and the base will hold the shed flat and true for decades. This guide walks through each stage, with the tricks our base teams use on every job.
Why does a shed need a strong base?
A strong base anchors the shed against wind, keeps ground moisture and pests out from underneath, and holds the building square so the doors and windows never jam. It also makes the shed easier to look after: a building on a solid, level slab simply lasts longer than one on ground that moves.
Skimp on the base and every one of those benefits works in reverse: the frame twists, the doors stick, and damp creeps in from below. The base is the one part of the job you can't redo later, so it's worth doing properly first time.
How do you prepare the site?
Start by clearing the area completely: vegetation, roots and rocks all have to come out, because anything organic left under the slab will rot and cause settlement. Then get the ground level. It's also worth grading the surrounding land slightly away from where the base will sit, so rainwater runs off rather than collecting around the slab.
Finally, mark out the exact dimensions of the base with stakes and string line, or marking paint. Measure twice here: the shed manufacturer's stated base size is the size you need, and a base that's out by even a little makes the build harder.
What concrete mix should you use for a shed base?
For a hand-mixed shed base, the standard mix is one part cement, two parts sand and four parts aggregate. Mixed properly and poured at a consistent workability, that produces a slab well suited to a garden shed.
There's a practical limit to hand mixing, though. Once a base gets bigger than about 1.5m × 3m, mixing by hand becomes a huge amount of labour, and it's hard to keep every batch consistent. For anything larger, order readymix concrete instead: it arrives at a uniform consistency and lets you pour the whole slab in one continuous operation.
How do you lay the concrete?
Before any concrete arrives, build a timber formwork (shuttering) around the marked-out area. It must be level and firmly secured: the shuttering defines the finished slab, so any error here is cast in concrete. For larger structures, consider adding fibre reinforcement to the mix for extra strength.
Pour the concrete and spread it out with a rake, then draw a straight edge across the top of the shuttering to strike off the excess and level the surface. Next comes tamping: working the surface with a tamping board eliminates air pockets in the slab and brings water to the surface. If you want a smoother finish, follow up with a wooden float, or a steel trowel for the smoothest result.
How long does a shed base take to cure?
Leave the shuttering in place for a minimum of 24 hours, and treat the slab as curing for around a week before it's ready for the shed. Keep the surface damp during that week: concrete that dries out too quickly is prone to cracking, so a gentle spray of water in warm weather protects all the work you've put in.
Pro tips from our base teams
• Prioritise quality over speed: every shortcut shows up in the finished slab. • Check the weather forecast before you book the pour. Extreme heat, cold or heavy rain all make for a worse base. • On a large base, pour and work in manageable sections rather than fighting the whole slab at once. • Keep a spirit level in your hand throughout. Check, and check again. • If you're unsure at any stage, ask someone who does this every day. A five-minute conversation is cheaper than a cracked slab.
Two related guides are worth reading before you start: how to set up shuttering correctly and the common mistakes to avoid when laying concrete. And if you'd rather hand the whole job to people who lay bases every week, our concrete base laying service covers sheds, garages and garden rooms: ask for a base quote and we'll price it up for you.
Shed base laying questions, answered
What is the best concrete mix for a shed base?
A mix of one part cement, two parts sand and four parts aggregate is the standard for a hand-mixed shed base. For bases larger than about 1.5m × 3m, order readymix concrete instead. It's consistent and saves an enormous amount of labour.
How soon can I remove the shuttering?
Leave the shuttering in place for at least 24 hours after the pour. The slab then continues curing for around a week. Keep it damp during that time to prevent cracking.
How long before I can put the shed on the base?
Allow around a week for the concrete to cure before building on it. Rushing this stage risks damaging the slab just as it's gaining its strength.
Should I lay a shed base in winter?
Concrete and freezing conditions don't mix well, nor do heavy rain or extreme heat. Check the forecast and pick a settled spell, or use protective measures if the weather turns mid-job.
In short: a good concrete shed base comes down to four things: prepare the ground properly, use the right mix, set up level shuttering before pouring, and let the slab cure slowly. Clear vegetation, roots and rocks completely, because anything organic left under the slab rots and causes settlement, then level the ground and grade the surrounding land slightly away so rainwater runs off rather than collecting. Mark the base out to the manufacturer's stated size with stakes and string or marking paint, and measure twice. The standard hand-mixed proportion is one part cement, two parts sand and four parts aggregate, but hand mixing stops being sensible above roughly 1.5m × 3m: beyond that, order readymix so the slab arrives at a uniform consistency and can be poured in one continuous operation. Build timber shuttering that is level and firmly secured, since the shuttering defines the finished slab and any error there is cast into it. Pour, spread with a rake, strike off with a straight edge across the shuttering, then tamp to drive out air pockets before floating or trowelling to the finish you want. Leave the shuttering in place at least 24 hours and allow around a week of curing, kept damp, before the shed goes on. Nucrete lays bases for sheds, garages and garden rooms with its own teams.
Written and reviewed by the Nucrete team. These are the methods our own base teams use on every job. Call free on 0800 849 9036.